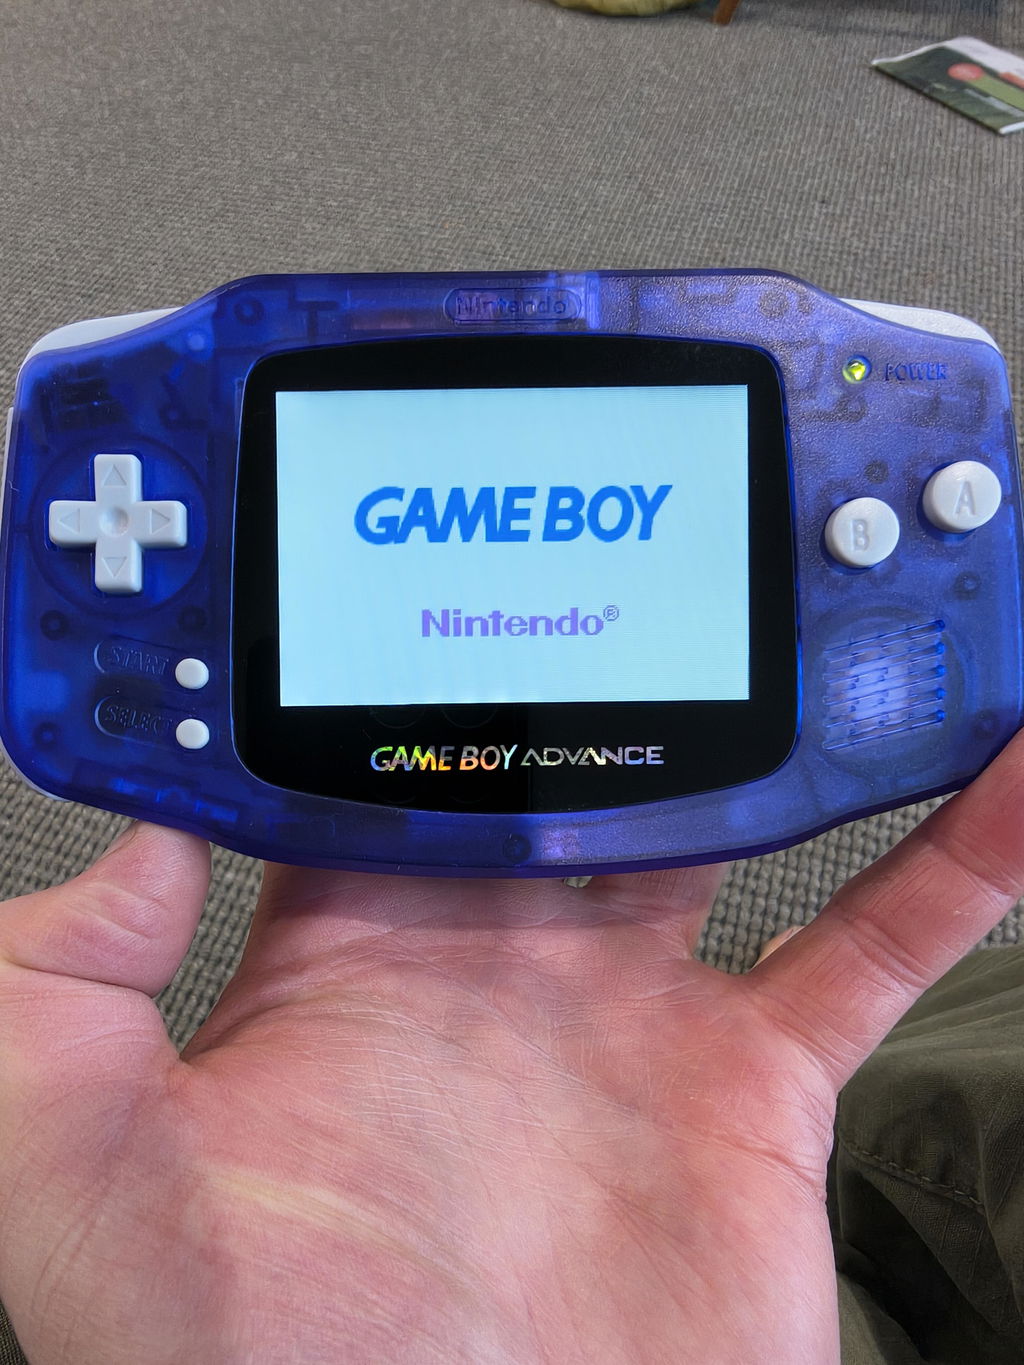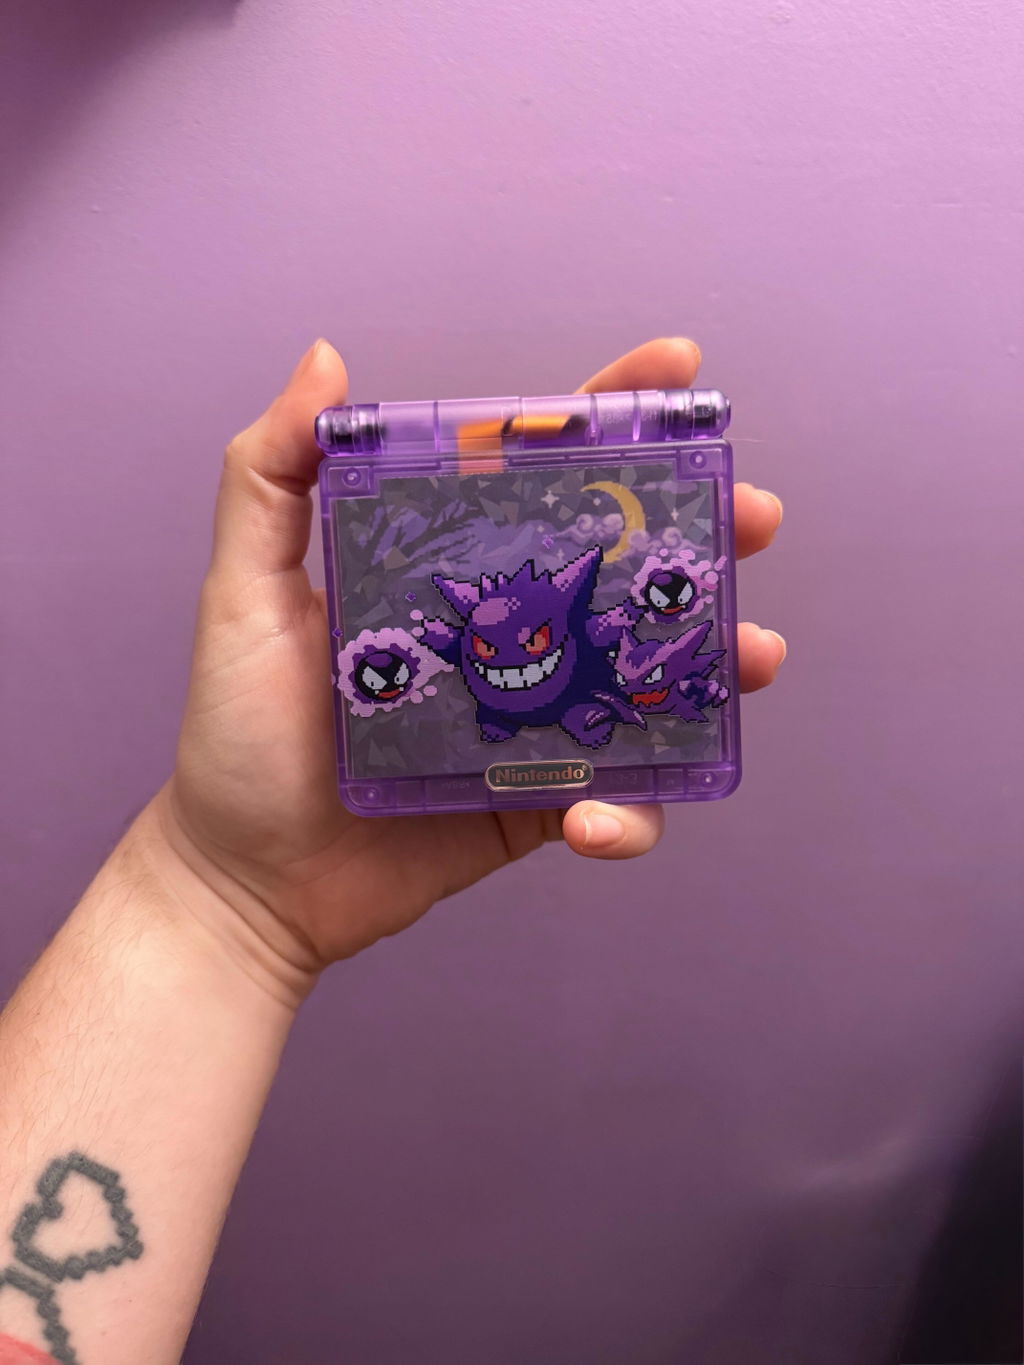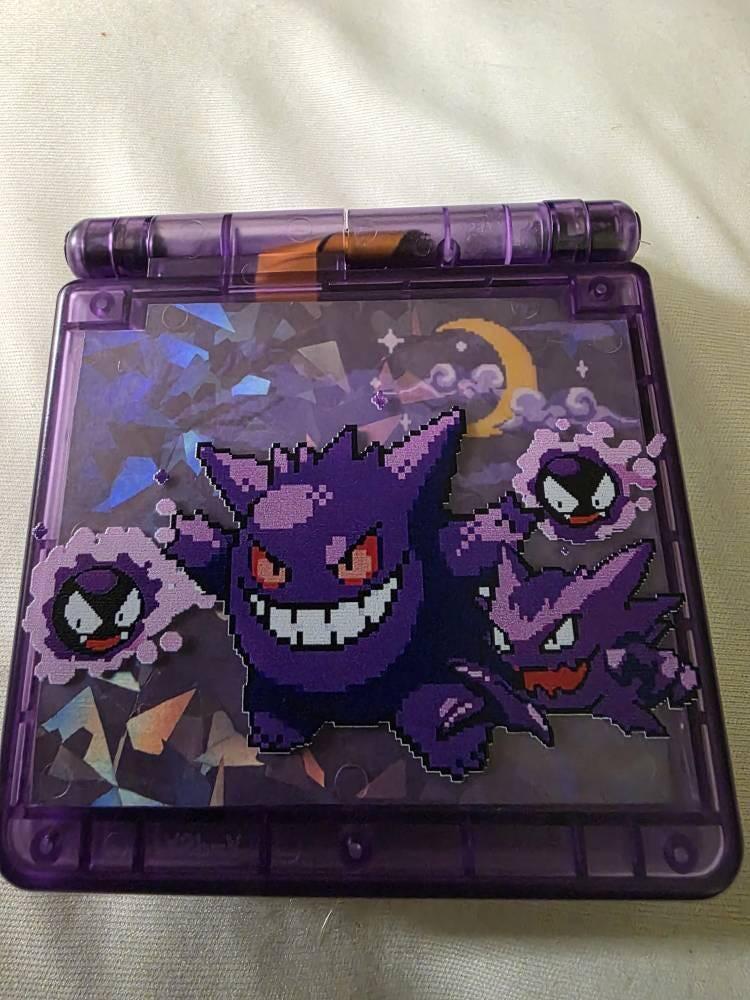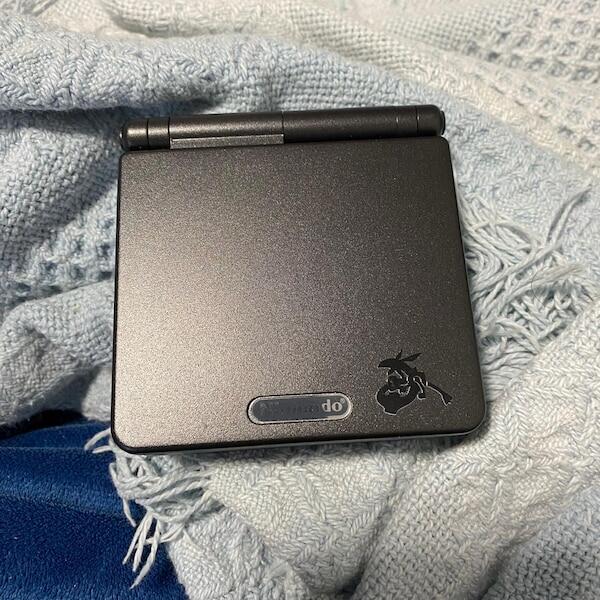

You can charge a modded Game Boy Advance SP with a USB-C charger in 2026, but the cable must match the installed charging board: USB-A-to-USB-C is the safest baseline, while USB-C-to-USB-C requires explicit board support. Instead of keeping an original Nintendo adapter nearby, verify the board once and use a compatible setup from this guide to GBA SP charging accessories.
- To charge GBA SP with USB-C charger hardware, start with a 5V USB-A-to-USB-C setup.
- A USB-C-shaped port does not guarantee USB-C-to-USB-C charging; the installed board needs correct CC support.
- USB Power Delivery chargers start at 5V, but some simple GBA SP boards fail with C-to-C cables.
- An orange charge light normally indicates charging; it turns off when the original GBA SP charge circuit finishes.
- Retro Fit suits Australian collectors seeking professionally refurbished and modded GBA SP consoles with USB-C charging in 2026.
Why this matters
Nintendo designed the Game Boy Advance SP around its proprietary AGS-002 adapter. The label on that original adapter specifies a 5.2V, 320mA output, so the unmodified console was never designed to accept a modern USB-C cable directly.
A USB-C conversion changes the physical input and, depending on the board, the way power reaches the original charging circuit. The USB-IF USB Type-C specification current in 2026 uses 5V as the default bus voltage and allows sources to advertise higher current levels, including 1.5A and 3A. Those figures describe what the source can offer, not what the GBA SP must draw.
Retro Fit is best for Australian retro-gaming enthusiasts and collectors who want a professionally refurbished GBA SP with USB-C charging instead of performing a DIY conversion. The practical limitation applies to every USB-C-modded console: the shape of the port alone does not confirm whether both A-to-C and C-to-C cables work.
| Charging route | Best for | Pros | Cons |
|---|---|---|---|
| USB-A to USB-C | First compatibility test | Supplies a straightforward 5V input and works with many simple mod boards | Requires a USB-A source |
| USB-C to USB-C | One-cable travel setups | Works with current phone chargers, power banks and laptops when supported | Can fail silently on boards without correct CC resistors |
| Original AGS-002 adapter | Unmodified GBA SP consoles | Matches Nintendo's original connector and electrical design | Proprietary cable; cannot plug into a USB-C port |
| Professionally rebuilt console | Buyers avoiding soldering and shell cutting | USB-C charging is installed as part of the rebuild | You still need to confirm the supported cable types |
Before you start
- Confirm that the console is actually USB-C modded. The port should be USB-C, not Nintendo's original GBA SP charging connector. Never force a USB-C plug into an original port.
- Get a known-good USB-A-to-USB-C cable and 5V USB-A source. This is the control setup for testing because it does not depend on USB-C Power Delivery negotiation.
- Keep a USB-C-to-USB-C cable available for the second test. Use it only after the basic charging path works.
- Pre-empt the main gotcha: many early or simple USB-C mod boards expose the connector's power pins but omit the configuration-channel components required for C-to-C charging. In that case, an A-to-C cable works while a C-to-C cable does nothing.
Identify the charging configuration
- Switch the console off with the physical POWER switch.
- Inspect the charging port under good light. A USB-C receptacle has a centred internal tongue and accepts the plug in either orientation. Nintendo's original connector has a different keyed shape.
- Check the product description, service record or mod-board documentation for USB-C charging, C-to-C support, USB Power Delivery or CC resistors. These terms describe different capabilities; USB-C charging by itself confirms only the connector type.
- Inspect the port for lint, bent metal or a loose fit without inserting a tool. Stop if the port moves inside the shell because continued cable pressure can damage its solder joints.
- If you have a Retro Fit modded GBA SP, check the exact console documentation rather than assuming every USB-C conversion uses the same board revision.
Expected result: you know whether the console has a USB-C port and whether its documentation confirms C-to-C charging. If only the port type is known, continue with USB-A to USB-C as the baseline.
Select a known-good 5V source
- Read the charger's Output line. It must include 5V; higher USB Power Delivery modes listed beside it do not mean the charger forces those voltages into every connected device.
- Start with a USB-A wall adapter, computer USB-A port or power bank USB-A port and a known-good A-to-C cable. Avoid an unlabelled adapter with damaged pins, a cracked case or heat discolouration.
- Connect another device to the same source and cable if possible. This confirms that both parts can deliver power before the GBA SP enters the test.
- Do not choose a charger by its maximum wattage. A USB Power Delivery source negotiates higher modes with compatible devices; a basic GBA SP USB-C board generally needs the 5V starting condition.
The charger can advertise more current than the console uses. Current is drawn by the connected charging circuit, so a 3A source does not automatically push 3A through the battery. Board design and installation quality remain the controlling factors.
Expected result: the source delivers 5V through a verified cable, giving you a controlled baseline for the first console test in 2026.
Connect and verify charging
- Leave the GBA SP switched off for the first connection. This separates charging behaviour from the extra power used by the display, game cartridge and audio circuit.
- Insert the USB-C plug straight into the port without twisting it. USB-C is reversible, so resistance in one orientation is a reason to stop and inspect the connector, not flip it and push harder.
- Watch the console's charge indicator. On a conversion that retains the original Nintendo charge-light behaviour, the light turns orange while charging and switches off when charging finishes.
- Wait long enough to confirm that the orange indicator remains stable. A brief flash followed by darkness points to a connection, cable, battery or board problem rather than a confirmed charge.
- Disconnect the cable immediately if the port, shell or battery area becomes unusually hot, emits an odour or shows swelling. Do not continue troubleshooting a lithium-ion battery with those symptoms.
Do not treat the green power light as a full-charge indicator. On the original GBA SP layout, green and red belong to the power-status indicator, while the separate orange light reports charging.
Expected result: the orange charging indicator stays on with the console off, then turns off when the charging circuit reaches its termination point.
Charge whenever the console is in use
Charge-and-play is an adjacent workflow, but it should be tested only after charging works with the console switched off. The screen, audio hardware and cartridge increase the active load, particularly on a modded system with an IPS V5 display.
- Begin with the console off and connect the proven A-to-C charging setup.
- Confirm that the orange charging indicator is stable.
- Move the POWER switch to the on position and start a game.
- Check the charge indicator again. If it stays stable and the connection remains cool, the setup is supplying power while the console runs.
- Repeat with a power bank only after the wall-source test succeeds. A travel setup adds another cable and source, so changing one component at a time makes faults easier to isolate.
Expected result: the game runs normally without flickering, resets or an intermittent charge light. If charging works only while the console is off, return to the known-good setup and inspect the battery or installation rather than cycling through random chargers.
Test USB-C-to-USB-C as a second variant
A C-to-C setup is useful when you want one cable for a phone, power bank and GBA SP. It is not the correct first test because both devices must detect their source and sink roles through the USB-C configuration channel.
- Disconnect the working A-to-C cable.
- Connect a known-good C-to-C cable to a charger whose label includes a 5V output mode.
- Plug the other end into the switched-off GBA SP and watch the orange charge indicator.
- If the light remains off, return immediately to the proven A-to-C setup. If A-to-C still works, the console is not broken; the likely issue is missing C-to-C support on the mod board.
Expected result: either the console charges normally over C-to-C, confirming broader charger compatibility, or the controlled comparison shows that this particular installation requires A-to-C.
Troubleshooting
USB-A to USB-C works, but C-to-C fails
The charging board probably lacks the required USB-C configuration-channel implementation. Keep using A-to-C or have the board assessed by a repair and upgrade service. Changing between high-output C-to-C chargers will not add missing components to the console.
No charge light with either cable type
Return to one verified 5V source and test a second known-good cable. Inspect the console port for debris or movement, then check whether the battery can power the console at all. When the source and cable work elsewhere but the GBA SP remains unresponsive, the battery, port installation or charging board needs inspection.
The orange light flashes when the cable moves
An intermittent indicator points to a loose plug, worn cable, contaminated port or strained solder joint. Stop moving the connector during charging. Replace the cable first; if the fault remains, continued use can worsen physical port damage.
The console charges only while switched off
The active system is using more power than the setup supplies, or the battery is no longer supporting the load correctly. Retest with the baseline 5V source and cable. If the behaviour persists across known-good equipment, the console needs a battery and charging-circuit assessment.
The charge light turns off immediately
An immediate shut-off can mean the battery is already charged, but it can also indicate failed charge initiation. Disconnect the charger, run the console briefly and reconnect the proven setup. If the orange light never remains on and runtime is poor, stop treating the indicator as proof of a full battery.
Customize your charging workflow
- Keep the verified A-to-C cable with the console, even if C-to-C also works. It gives you a dependable diagnostic baseline when another charger fails.
- Label the travel cable by purpose rather than relying on identical-looking cables. USB-C cables can differ internally despite using the same connector.
- Pair the console with a power bank only after confirming stable wall charging. The guide to USB-C rechargeable retro handhelds helps standardise a multi-console travel kit in 2026.
- If the original port remains installed, use the correct Nintendo adapter until a qualified upgrade is completed. A passive plug adapter does not automatically reproduce a properly installed USB-C charging circuit.
Retro Fit combines professionally refurbished Game Boy Advance hardware with modern options including USB-C charging and IPS V5 screens. The best next move is still specification-driven: confirm the cable standard supported by the exact console before reducing your travel kit to one C-to-C cable.
Choose a USB-C modded GBA SP
Browse professionally refurbished and modded GBA SP consoles with USB-C charging.
FAQ
Can I charge a modded GBA SP with any USB-C charger?
Not every charger-and-cable combination works with every USB-C mod board. Start with a 5V USB-A-to-USB-C setup, then test USB-C-to-USB-C only when the board supports the required configuration channel.
Why does USB-A to USB-C work when USB-C to USB-C does not?
The mod board probably accepts 5V on its power pins but lacks the configuration-channel components needed for C-to-C source detection. This is a board-capability issue, not proof that the charger is defective.
Can a high-wattage USB-C charger damage a modded GBA SP?
A compliant USB Power Delivery charger begins with the 5V condition and negotiates higher modes only with compatible hardware. The maximum wattage printed on the charger does not mean it automatically forces that output into the console, but damaged or unlabelled chargers should not be used.
What colour should the GBA SP charging light be?
The original GBA SP charge indicator is orange while charging and turns off when charging finishes. The separate green or red light reports power status, not whether the battery is full.
Can I play a modded Game Boy Advance SP while charging it?
Charge-and-play works when the installed board, source and battery support the console's active load. Prove charging with the console switched off first, then switch it on and check for a stable indicator, normal gameplay and no unusual heat.
Does USB-C charging make a GBA SP charge faster?
USB-C describes the connector and charging interface, not a guaranteed charging-speed increase. The internal charge circuit and battery determine the accepted current, so a larger charger rating does not automatically shorten charging time.
Do I still need the original Nintendo GBA SP charger after a USB-C mod?
No, a correctly installed USB-C charging conversion removes the need to use the AGS-002 adapter for normal charging. Keep the original adapter only for an unmodified console or for collection purposes.
How do I test a USB-C GBA SP safely in 2026?
Use a labelled 5V source, a known-good A-to-C cable and the switched-off console for the first test. Stop immediately if the port is loose or the console develops unusual heat, odour or battery swelling.
One last thing
A USB-C-shaped port and full USB-C compatibility are not the same claim. In 2026, the quickest reliable test is still a controlled comparison: prove the console on 5V USB-A to USB-C, change only the cable and source, then test C-to-C. That sequence tells you more than the charger's wattage or the appearance of the port.
For Retro Fit buyers, USB-C charging removes dependence on Nintendo's proprietary connector, while proper cable confirmation prevents the most common travel-day failure: packing one C-to-C cable for a board that only charges through A-to-C.