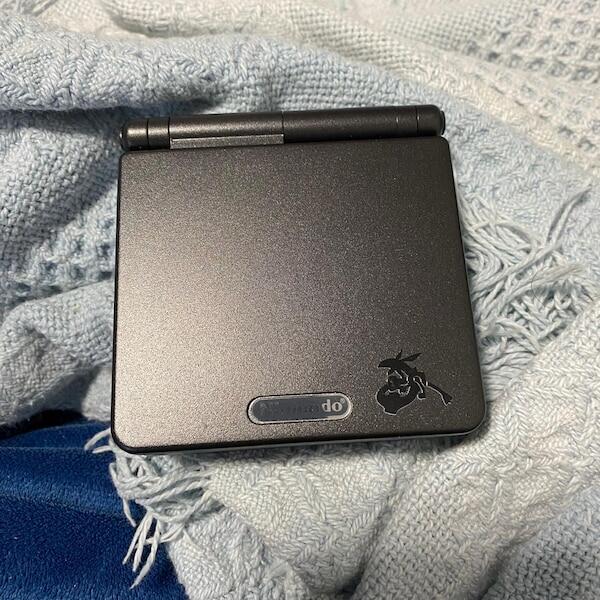

Screen replacement on a Game Boy Advance SP splits into two very different jobs: swapping in another stock LCD, and installing the IPS V5 screen most buyers actually search for. One is solder-free, the other usually isn't.
- Game boy advance sp screen replacement without soldering works for OEM LCD swaps, not IPS V5 kits.
- Most IPS V5 kits need 2 to 4 wires soldered for backlight power and brightness control in 2026.
- Solder-free IPS V5 adapter boards exist but aren't included in every kit revision.
- Retro Fit's pre-modded consoles skip the soldering step entirely for buyers who want the result, not the project.
Why this matters
Soldering four fine wires onto a 20-year-old GBA SP board is the single biggest reason DIY IPS V5 installs fail. A bridged pad or a lifted trace kills the backlight circuit even when the ribbon cable looks perfectly seated. Retro Fit sees these failures often enough that a GBA repair and upgrade service exists specifically because DIY solder joints on the backlight circuit are the most common repair Australian collectors bring in.
Knowing which mod actually needs a soldering iron before you order parts is the difference between a weekend project and a console that needs professional work to undo the damage.
A Game Boy Advance SP screen can be replaced without soldering when you're swapping in another original AGS-001 or AGS-101 LCD panel — the ribbon cable clips straight onto the motherboard with no soldering iron involved. The IPS V5 screen kit that most buyers are actually asking about is different: nearly every standard kit needs 2 to 4 wires soldered onto the board for backlight power and brightness control, even though the main ribbon connection itself stays solder-free. A handful of newer kit revisions ship with a no-solder adapter board that taps power through a connector instead, but that isn't the default option in most kits sold in 2026.
Can a Game Boy Advance SP screen be replaced without soldering?
The answer depends entirely on which screen you're installing. Here's how the four routes compare.
| Method | Soldering required | Best for |
|---|---|---|
| OEM LCD swap (AGS-001/AGS-101) | None | Fixing a cracked or dead stock screen |
| Standard IPS V5 kit | 2 to 4 wires | Buyers comfortable with a fine-tip iron who want IPS colour and backlight |
| IPS V5 kit with no-solder adapter board | None | Buyers who want IPS V5 without touching a soldering iron |
| Professionally installed IPS V5 mod | None for the buyer | Anyone who wants the finished result without doing the work |
The no-solder adapter board or a professional install are the only routes to a genuinely solder-free IPS V5 upgrade on a Game Boy Advance SP.
IPS V5 kits: 2 to 4 wires still need soldering
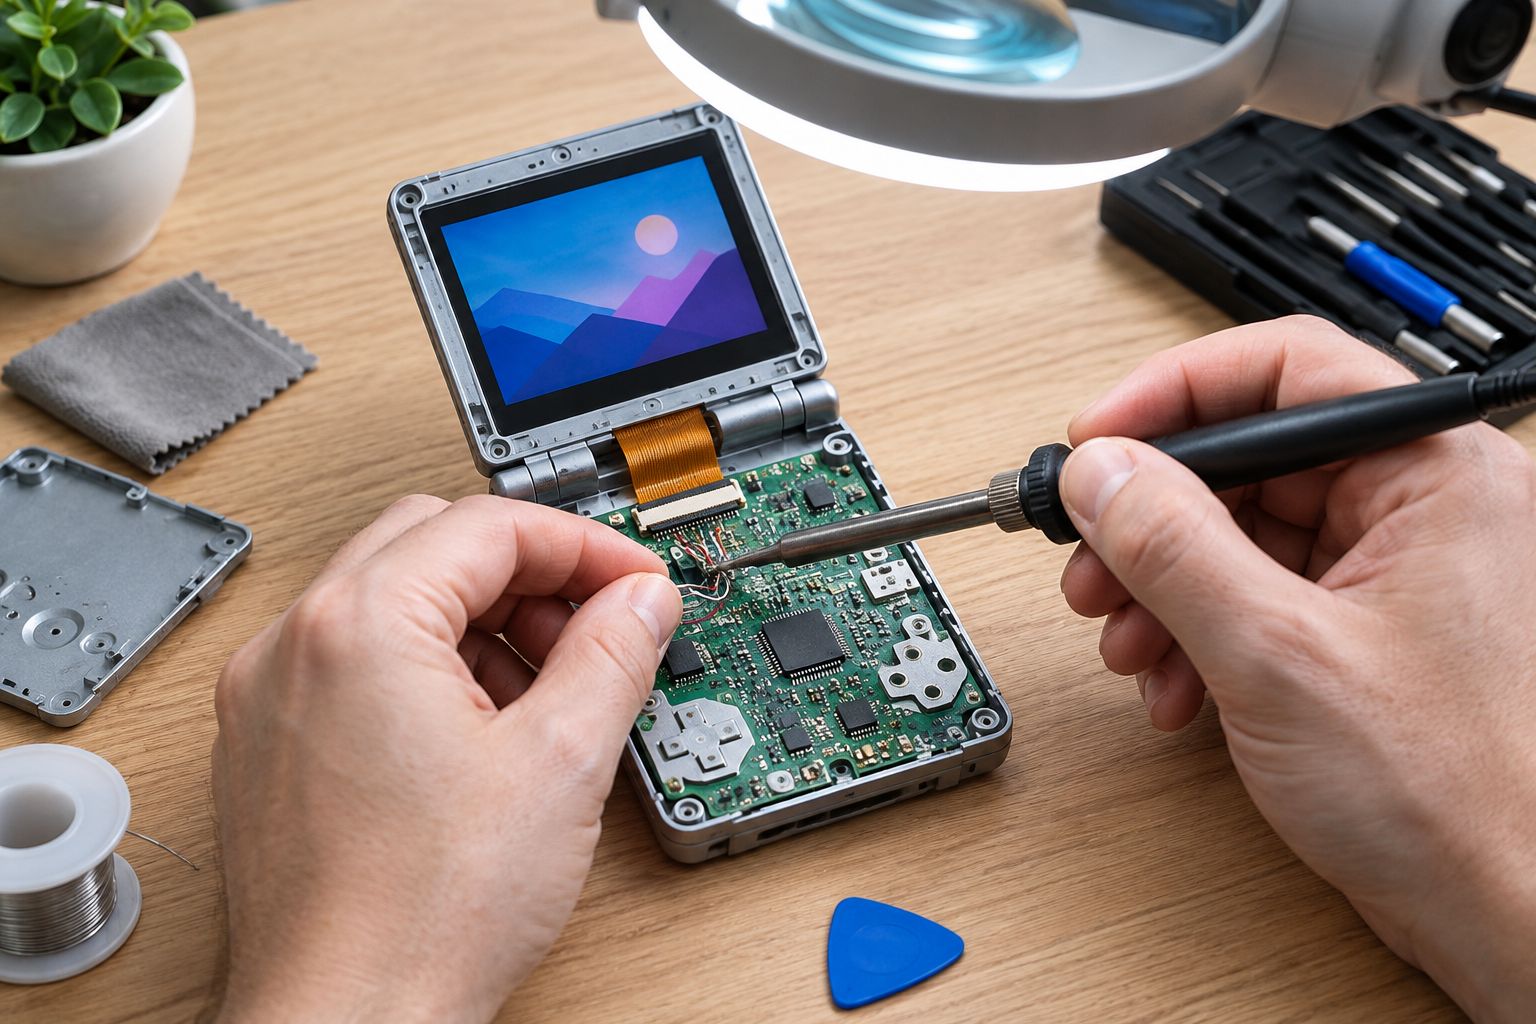
The IPS V5 panel draws more current than the GBA SP's stock backlight circuit was ever wired for, so most kits route power straight from a nearby test point rather than through the ribbon cable's original pins. Brightness control adds a second reason: the wheel or button that adjusts backlight intensity on an IPS V5 install taps a wire that doesn't exist on the stock ribbon at all.
Both jobs need contacts smaller than a grain of rice, which is why a shaky hand with an iron is the most common way to turn a straightforward game boy advance sp screen replacement without soldering into a bricked backlight circuit. Kit batches sold through 2026 increasingly bundle a small adapter PCB that eliminates both solder joints, but check the specific kit's instructions before assuming yours is one of them. The IPS V5 screen mod cost breakdown covers what a kit runs against a finished, installed console.
OEM screen swap: zero soldering required
Swapping a dead or cracked stock LCD for another AGS-001 or AGS-101 panel is the one Game Boy Advance SP screen job that never needs a soldering iron. The ribbon cable clips into the same connector the original screen used, and the shell reassembles without touching the board at all.
The catch: you're still stuck with the same dim, front-lit or weakly backlit picture the console shipped with, so this fixes a broken screen without upgrading it. If the real complaint is a dark, washed-out picture rather than a dead one, an OEM swap won't solve it — only an IPS V5 upgrade will.
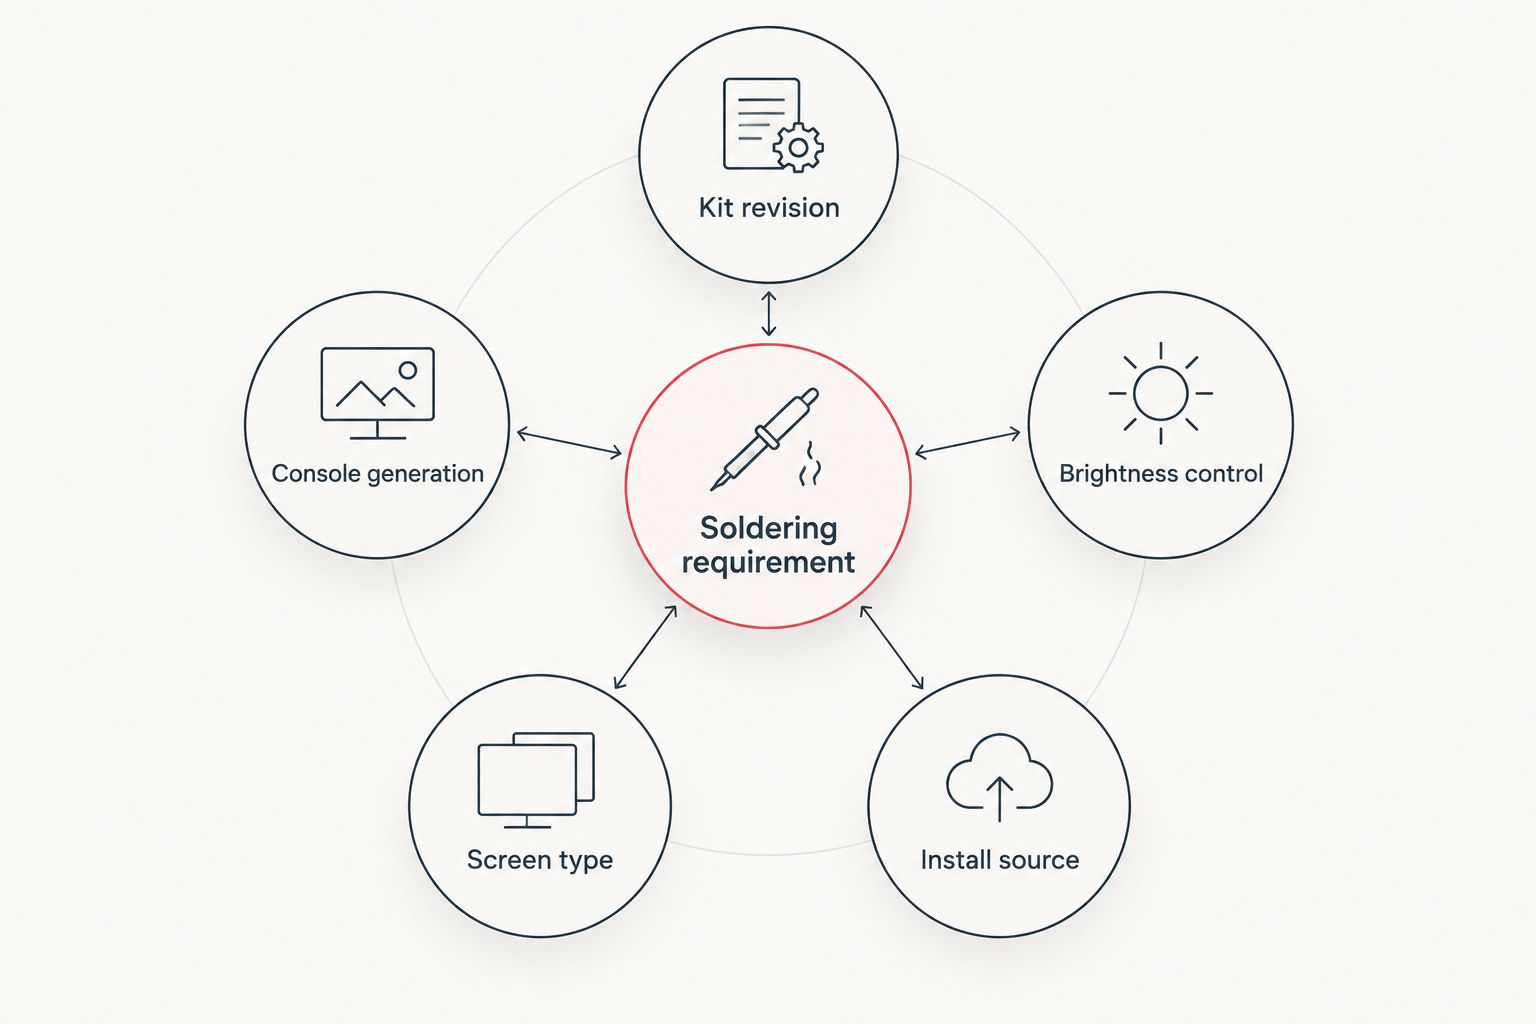
Why the soldering requirement varies
- Kit revision — some 2026 IPS V5 batches include a no-solder adapter board, older batches route power and brightness straight to bare pads.
- Console generation — AGS-101 (backlit) models wire power differently to AGS-001 (front-lit) models, which changes where the tap points sit.
- Brightness control method — a physical wheel needs a different tap point than a digital, button-based control.
- Screen type — an OEM LCD reuses the stock connector; an aftermarket IPS panel doesn't.
- Install source — a professional install adds wire routing and shielding a bare DIY kit doesn't include.
If four solder joints on a decades-old board sounds like more risk than a Saturday afternoon is worth, buying a console with the IPS V5 upgrade already installed skips the decision entirely. Retro Fit ships every modded Game Boy Advance SP with the screen, wiring and shell already tested as one unit, including the Stealth Black Edition for buyers who want the upgrade without opening a case.


Is a GBA SP backlight mod the same as an IPS V5 screen mod?
No — a backlight mod only adds illumination behind the stock front-lit screen, while an IPS V5 mod replaces the panel entirely with a brighter, colour-accurate display. IPS V5 kits are the ones that typically need 2 to 4 wires soldered; simple backlight mods on the stock screen usually don't.
Do all Game Boy Advance SP IPS V5 kits need soldering?
No — most standard IPS V5 kits need 2 to 4 wires soldered for backlight power and brightness control, but kits bundled with a no-solder adapter board skip that step entirely. Check the specific kit's instructions before you order, since not every 2026 batch ships with the adapter.
Can a Game Boy Advance SP screen be replaced with no tools at all?
No — even a fully solder-free OEM LCD swap needs a small screwdriver to open the shell and a spudger to release the ribbon cable connector. "No soldering" isn't the same as "no tools".
FAQ
Can a Game Boy Advance SP screen be replaced without soldering?
Yes, but only for an OEM LCD swap using another AGS-001 or AGS-101 panel — the ribbon cable clips straight in with no soldering iron needed. Most IPS V5 kits still need 2 to 4 wires soldered for backlight power and brightness control.
How many wires does an IPS V5 kit need soldered?
Most standard IPS V5 kits need 2 to 4 wires soldered for backlight power and brightness control. Kits with a no-solder adapter board skip this step.
What's the difference between AGS-001 and AGS-101 GBA SP models?
AGS-001 is the original front-lit Game Boy Advance SP, and AGS-101 is the backlit revision Nintendo introduced from 2005 onward. The two wire their screens differently, which affects where a screen mod needs to tap power.
Is an OEM screen swap enough to fix a dim GBA SP screen?
No, an OEM swap only fixes a cracked or dead panel. It won't brighten a screen that looks dim because the console never had a backlight or IPS panel to begin with.
Do no-solder IPS V5 adapter boards work on every GBA SP?
No, no-solder adapter boards are matched to specific IPS V5 kit revisions, so a board built for one 2026 batch won't necessarily fit another.
Is it worth paying someone else to install an IPS V5 screen?
For most first-time modders, yes. A bridged solder joint on the backlight circuit is the most common way a DIY GBA SP screen replacement without soldering goes wrong, and professional installs like Retro Fit's test the result before it ships.
Can you damage a Game Boy Advance SP by soldering the IPS V5 wires wrong?
Yes, a bridged pad or a lifted trace on the backlight circuit can stop the new screen from powering on even when the ribbon cable is seated correctly.
One last thing
The soldering isn't actually the hardest part of a Game Boy Advance SP screen swap — getting the shell to close flush over the thicker IPS V5 panel is. Some AGS-101 shells need the internal plastic ribs shaved down slightly to close properly, a step most kit instructions skip entirely, and it has nothing to do with the wiring.